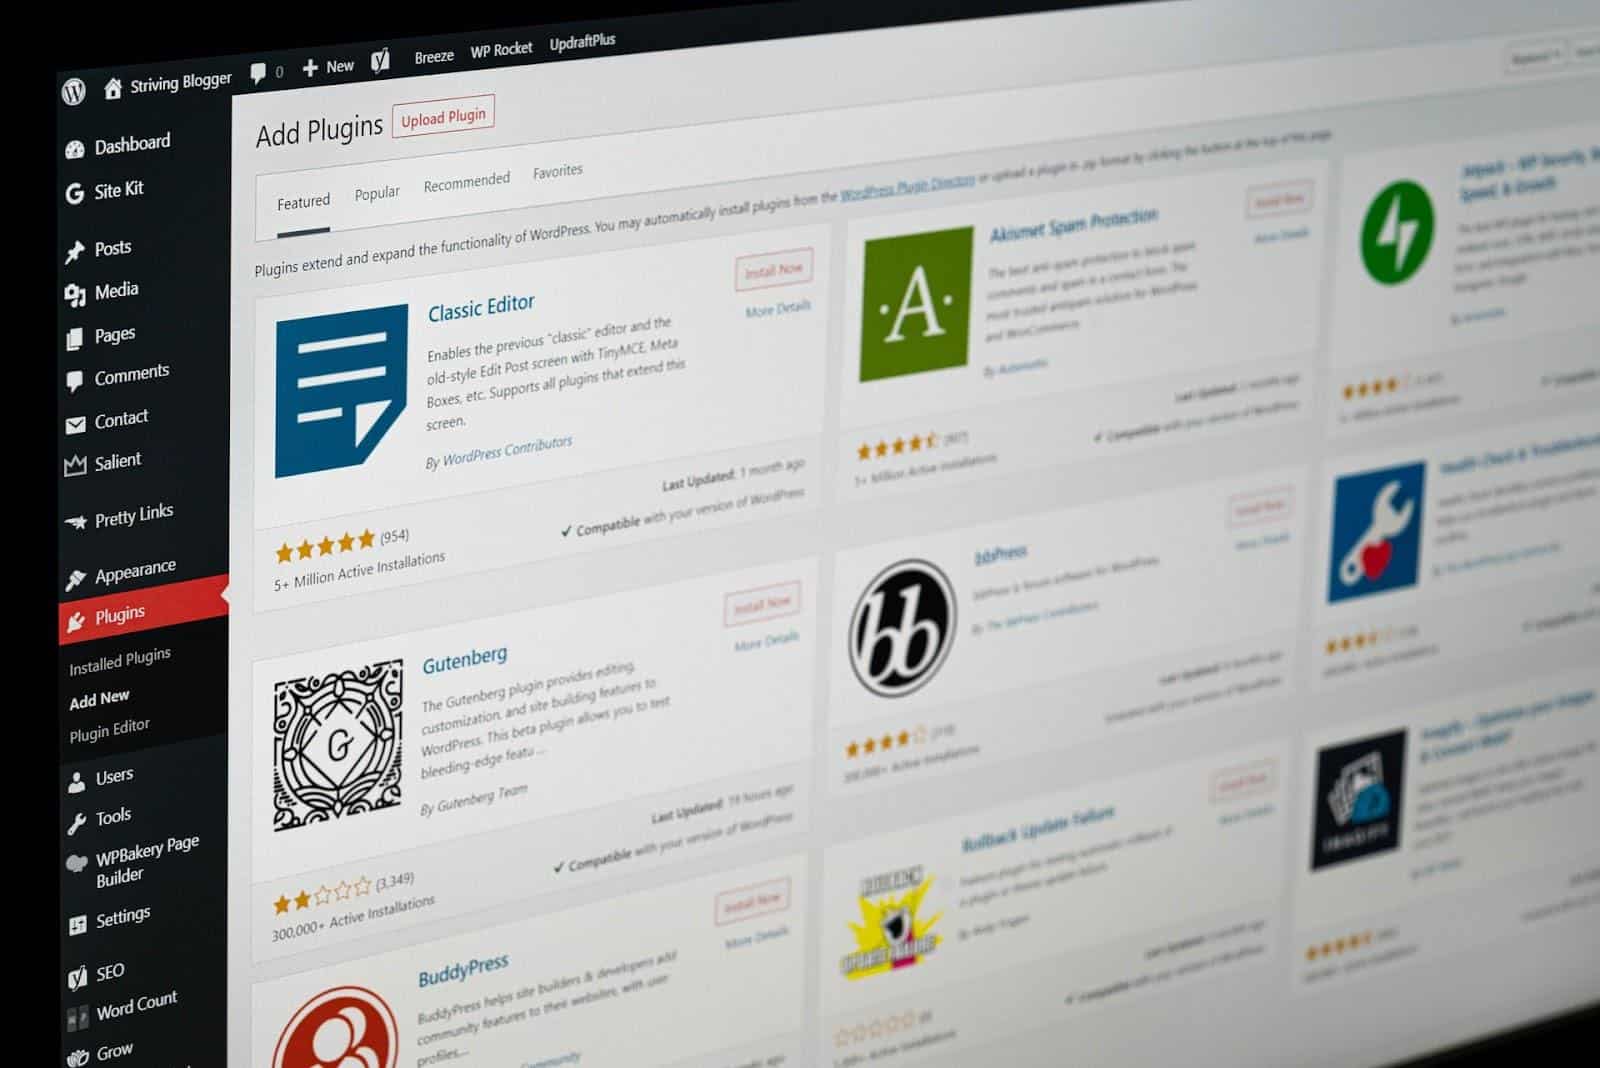
You are probably already familiar with the power of plugins if you have used WordPress for any length of time. However, using plugins and making your own are two quite distinct activities. If you’re interested in creating WordPress plugins, you might not know where to start.
Fortunately, creating your own plugins is simpler than you would think. The first crucial step is to gain a thorough understanding of how plugins operate and are built. Once you understand the fundamentals, making and installing your own straightforward plugins is not too difficult.
Let’s check it!
Basic Concepts

Since PHP (Hypertext Preprocessor) is the primary scripting language, a plugin is essentially one or more functions defined in PHP files.
It’s a great idea to use React to create WP plugins. In addition, it frequently includes widgets, shortcodes, and hooks (action hooks and filter hooks). These are the primary components of creating a WordPress plugin.
Hooks
Without altering the WordPress core files, hooks are features that let you control a process at a specific time.
Therefore, hooks give your plugin a mechanism to connect to the functioning of WordPress core. Hooks can be used to associate code fragments or functions that will run at different times.
Shortcodes
The WordPress theme is not immediately accessible to plugins when they are being developed.
You need to utilize a shortcode in order to interact with the WordPress theme and show the user certain information. With the aid of shortcodes, users can add a dynamic HTML element to a post or a page.
Widgets
Developers now have another option for showing users your plugin’s content thanks to widgets. To construct a widget for your plugin, you must extend the PHP WP_widget class, which is provided by WordPress.
What Do You Need to Make a Plugin?
You’ll need the following to create your own plugin and use it on your WordPress website:
- A code editor
- A development WordPress installation that includes a testing replica of your live site
Steps for Developing a WordPress Plugin
Define the Requirements
Clearly defining your development needs is the first step in creating a WordPress plugin.
Make sure you understand the purpose of the plugin before you begin. You may implement your idea into an effective plugin when you have a clear vision of the problem to tackle on your website.
Choose a Name for Your Plugin
Choosing a formal name for your plugin is the first step in developing a WordPress plugin. You should pick one that is both distinctive and pertinent to what the plugin does.
To make sure there aren’t any other plugins with the name you’re considering using, it’s a good idea to look through the WordPress Plugin Directory and run a few Google searches.
Remember that the PHP file and folder for the plugin will both utilize the name that will serve as the official plugin.
Create Plugin Folder and PHP File
You must first find a place for your plugin to live. So, after choosing a name for your plugin, the following action is to make a folder for it.
Go to your WordPress installation’s wp-content/plugins folder to get started. Use hyphens to separate words when naming a new folder with the plugin’s name (for example, “your-plugin-name”).
Set Up a Testing Environment
The setup of a testing environment is the following phase. As a newbie, you will probably pick up a lot of knowledge along the way, therefore you shouldn’t try out new things on a live site.
You can test your plugin in private while working on it using a local environment or staging site.
Add Code to Your Plugin
Each plugin is unique. But they all have similar elements.
For example, all plugins communicate with WordPress using hooks. You are welcome to play around with the code and try a different function.
Please be aware that you can also include this code in the functions.php file for your theme. This file contains code that enhances the functionality of your website and functions very similarly to a plugin. You will, however, lose these changes if you choose to use a different theme in the future or if your current theme is upgraded to a new version.
Test Your Plugin

It’s crucial that you frequently save your work and test your modifications on your staging site as you continue to develop your plugin. Additionally, you should be on the lookout for any security flaws so you can fix them before releasing your plugin.
Try your plugin on a live site after you’re satisfied with it. Again, especially if your plugin is for WP maintenance, you’ll want to make sure you’ve properly tested it for any problems and vulnerabilities. Before testing your plugin on your live site, it’s a good idea to make a backup of it.
Distribute Your Plugin
You can begin releasing your plugin as soon as you’ve finished creating and testing it. You may share your work with the community and get visibility by adding your plugin to the WordPress Plugin Directory. You may benefit from the enormous WordPress customer base and draw in new customers.
However, before installing your plugin, you must confirm that your plugin complies with the Detailed Plugin Guidelines and best practices. Your plugin may not be inspected and approved right away.
Adding the files to the SVN repository is necessary after your plugin has been approved. After that, users of WordPress will be able to install the plugin on their websites.
In Conclusion
The WordPress platform is not complete without plugins because they make it simple to add functionality that goes far beyond the core of the software without changing it.
Before creating your own plugin, you should see if one of the over 60,000 already available in the official WordPress plugin database meets your needs. If there isn’t a pre-existing WordPress plugin that meets your demands, you might want to think about making one.