Ubuntu is one of the most popular Linux distributions today. Several Ubuntu derivatives entered the scene in recent years, such as Linux Mint, Elementary Linux, Zorin OS, Linux Lite, and so on.
Ubuntu can be used for lots of things; you can even run it on a Raspberry Pi. But what about its use in blogging?
Since WordPress is currently one of the most popular blogging platforms and the most widely used CMS, powering more than 63% of the world’s websites, there is sometimes a need to directly run this CMS on your OS.
Due to the fact that each Linux distribution can be used as a local server machine to store your data, you can use it even for running WordPress locally.
That is exactly what we are going to learn how to do in this article; get WordPress up and running on Ubuntu Linux.
The first part of this article will cover installing and setting up LAMP Stack (Linux, Apache, MySQL, and PHP) on Ubuntu Linux 20.04 Focal Fossa. In the second and final part of this article, we will download, configure and fire up WordPress.
So let’s get started, shall we?
What is LAMP Stack?
LAMP Stack is basically a combination of different software we can use to build dynamic websites. It’s an abbreviation that stands for Linux, Apache, MariaDB/MySQL, and PHP. Once installed on Ubuntu Linux, LAMP Stack can be used to build and deploy awesome websites on platforms such as WordPress or Joomla.
In this article, we are not going to build any type of website. Instead, we will install LAMP Stack and get WordPress up and running.
The very first thing that needs to be installed is Apache2. Its an open-source and very powerful web/HTTP server software used by numerous websites on the internet. To install it, we can run the following command:
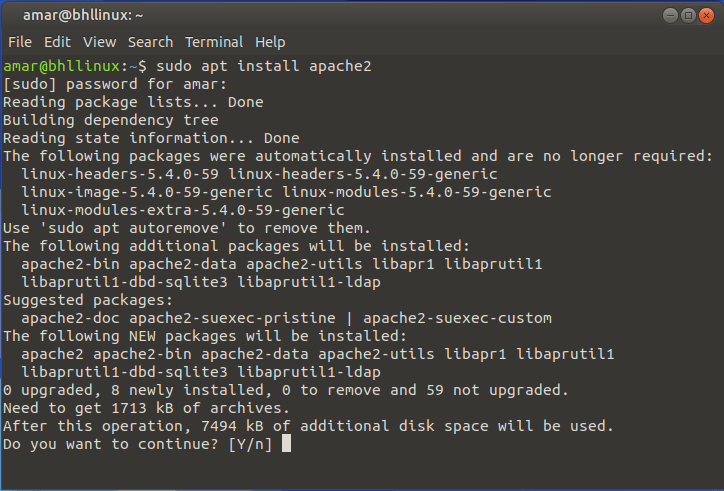
Once you see the request to install Apache2, enter “Y”, and let the terminal complete the Apache2 installation.
Note that the configuration files for Apache2 are located within the /etc/apache2 directory, and the main config file is located in /etc/apache2/apache2.conf, which you can open using the Vim text editor.
The default document root for storing your web files is located within /var/www/html/.
Now we need to check if Apache2 is up and running. For that, we can use the following command:
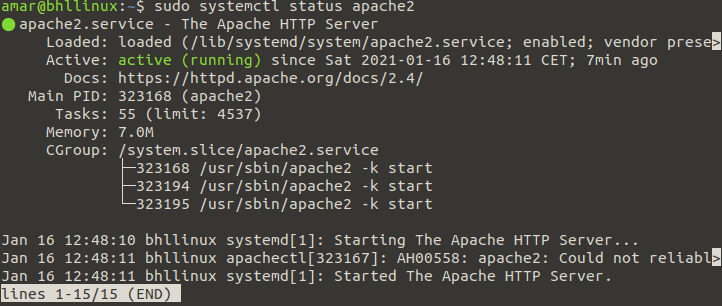
On Ubuntu Linux and all other modern Linux distributions, systemd is a service manager responsible for maintaining services such as Apache2 and so on.
You can find out more about systemd at this link.
Next, run the following command to make sure that Apache2 is enabled.

Now it’s time to test Apache2 by opening a web browser and entering your IP address. After doing this, you should see the Ubuntu logo and Apache2 Ubuntu default page.
To display the Apache2 Ubuntu default page, enter http://YOUR_IP_ADDRESS. You can find out your IP address by running the command hostname -I.

Upon entering your IP address in a web browser, the following Apache2 Ubuntu default page should pop-up:
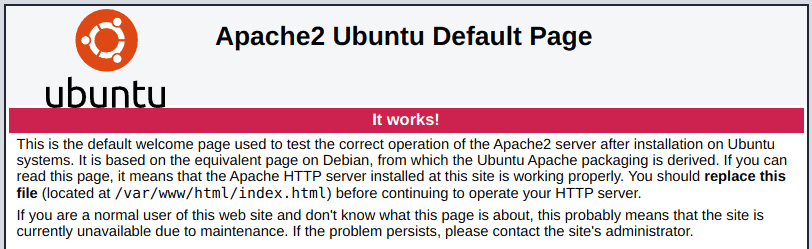
If you see this page, it means that you have successfully installed Apache2 on your machine.
Now, we are moving onto MariaDB.
Installing MariaDB on Ubuntu 20.04
In this part of the article, we will install and set up MariaDB, a fork of the popular MySQL database management system. This database client is so popular that it has found its place in Ubuntu Linux as well.
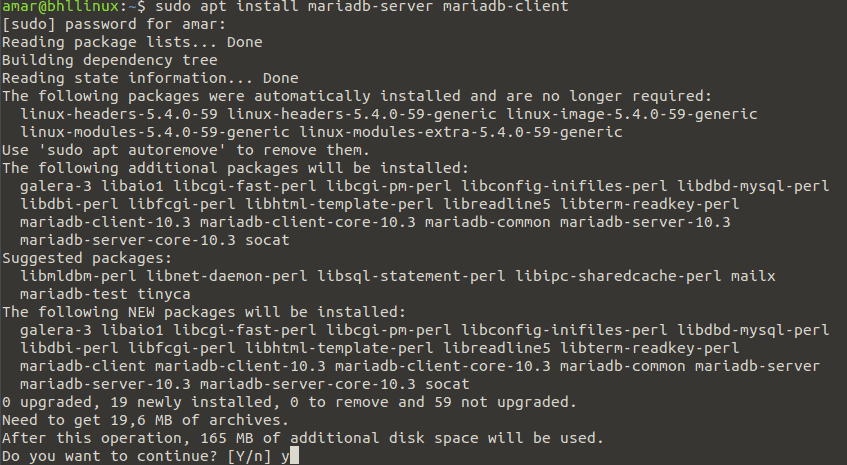
To install it, run the following command:

Once you run this command, the terminal will display the following installation prompt:
The configuration file for MariaDB is stored within the /etc/mysql directory. Once again, if you want to, you can open it using the Vim text editor.
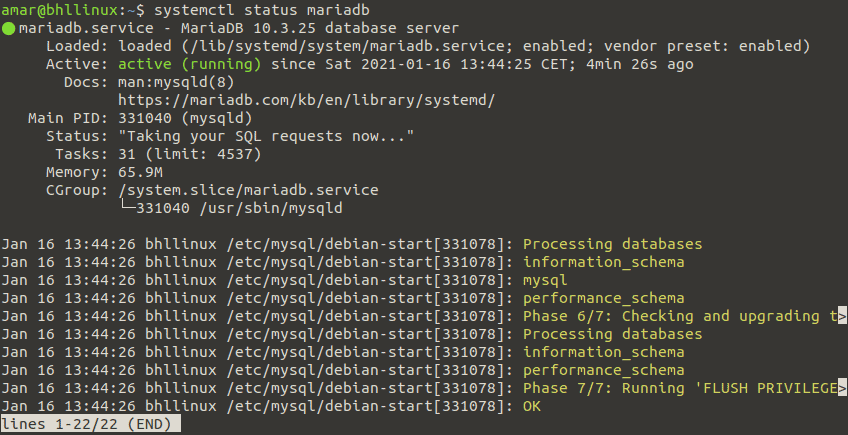
Now, run the following command to make sure that the MariaDB service is running:
Finally, we need to make sure that MariaDB will start automatically when the system is rebooted. We can do that by typing the following command:

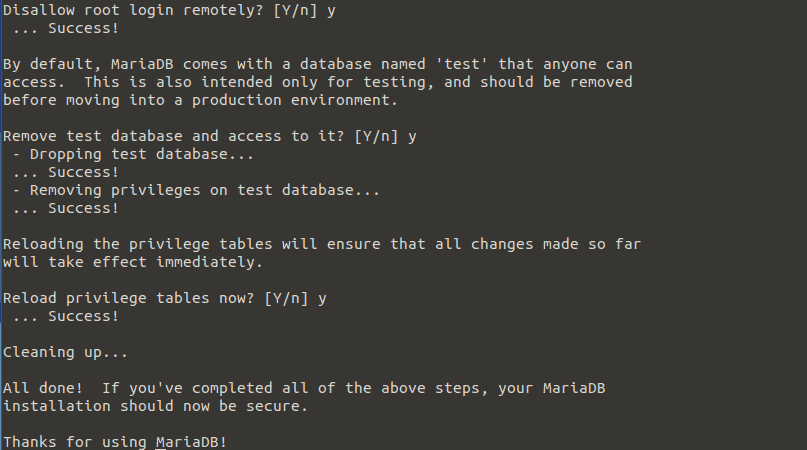
Now, let us set up some basic security measures for the MariaDB database installation by running the mysql_secure_installation script.
After running this script, you will have to answer several questions:
- Enter current password for root (hit enter for none): Enter
- Set a root password? [Y/n] y
- Remove anonymous users? [Y/n] y
- Disallow root login remotely? [Y/n] y
- Remove test database and access to it? [Y/n] y
- Reload privilege tables now? [Y/n] y
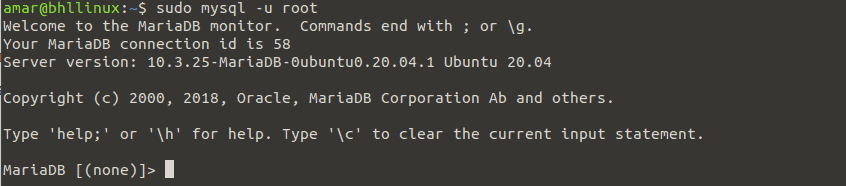
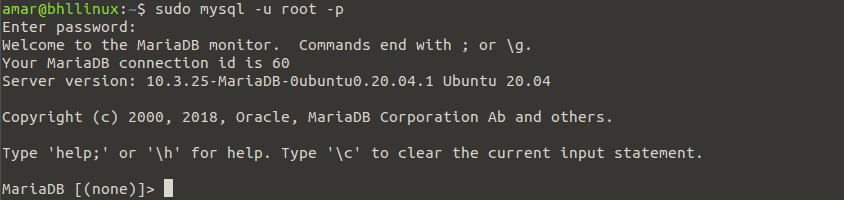
Next, run the following command, with sudo rights, in order to access the MariaDB shell:
Ok, that was the installation and configuration of MariaDB on Ubuntu Linux 20.04.
Now, let us install PHP.
Installing PHP on Ubuntu 20.04
PHP is a general-purpose scripting language and one of the most popular programming languages used for web development. It powers some of the most popular websites and web services in the world.
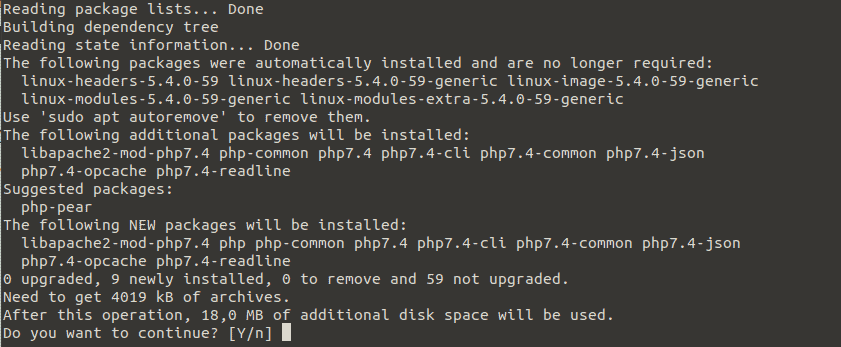
To install PHP into Ubuntu 20.04, run the following command:

Once you run this command, you will see the following installation prompt in the Ubuntu Linux terminal:
Note that the configuration files for PHP are located within the /etc/php/7.2 directory.
After installing PHP, run the following command to restart Apache2 so the change can take effect:

In order to test if Apache and PHP are working and communicating successfully, we need to create a sample info.php page in the following location /var/www/html. I will use the Vim text editor to complete the task.
The source code of the info.php page is as follows:

Now, run the command http://YOUR_IP_ADDRESS/info.php.
As mentioned earlier, you can find out your IP address using the command hostname -I. Running the command should display the following PHP page:
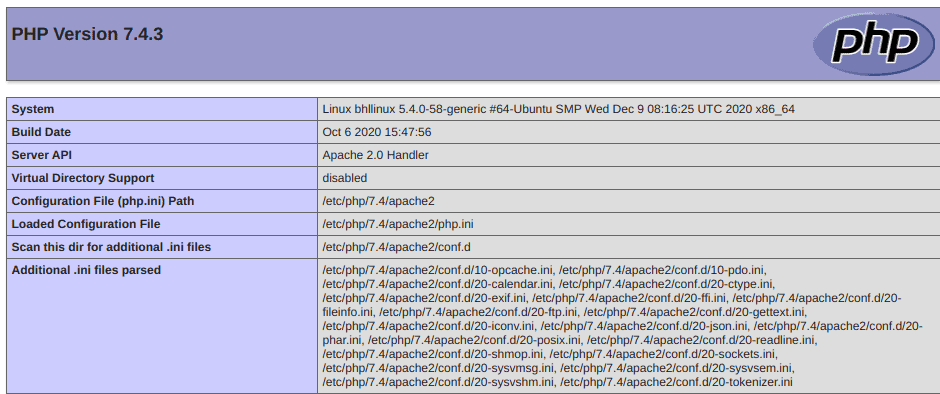
If you see the above-shown page, it means that PHP has been successfully installed on your machine, in my case, on Ubuntu Linux 20.04. This marks the successful installation of LAMP Stack under Ubuntu Linux 20.04.
Now, we are ready to download, install and configure WordPress.
Downloading and installing WordPress
Now that we have successfully installed and set up LAMP Stack let us download the latest version of WordPress and install it on Ubuntu Linux 20.04.
To do that, run the following command:
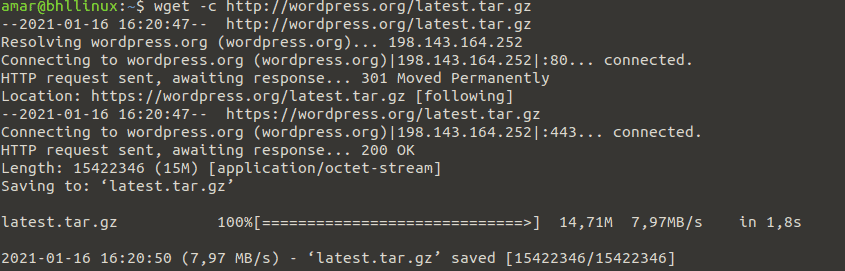
Once the download is completed, we need to use the tar command in order to extract the archived file. The command is as follows:

And here are the details of the WordPress package extraction:

Now, move the extracted WordPress directory into your document root /var/www/html/, as shown in the image below. Except in your case, replace “mysite.com” with your website name or domain name.
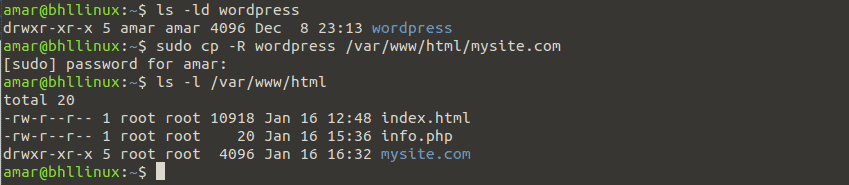
Now, we need to set the appropriate permissions for the website directory (/var/www/html/mysite.com). The directory must be owned by an Apache2 user and group called www-data.
To accomplish this task, the following command must be used:

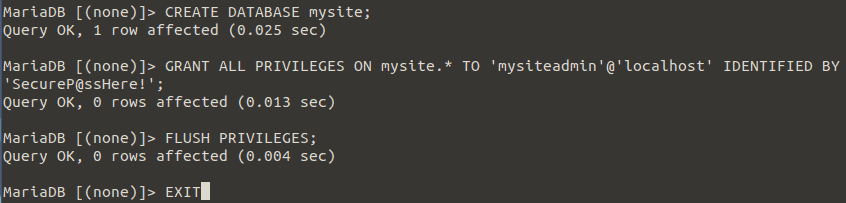
Creating a database for the WordPress website
To get started creating a database, we need to log into the MariaDB database shell using the following command:
Once logged in, we need to run a couple of commands which will create a site database and a user with privileges. The commands are as follows:
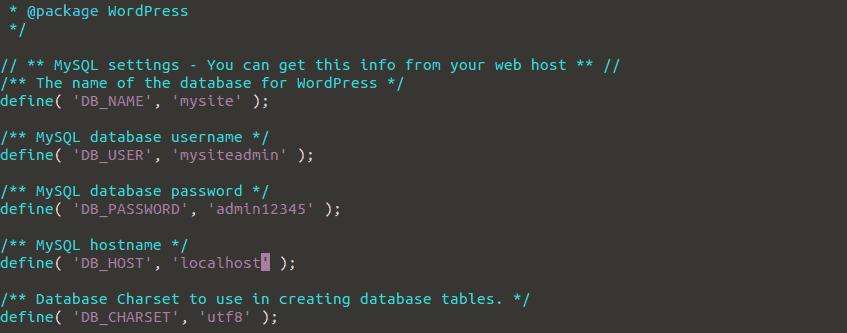
Next, go into your website document root, and create a wp-config.php file using the sample configuration shown in the image below.

Now, using the Vim text editor, open the wp-config.php file and enter the following information:
In the next part of this article, we need to create an Apache Virtual Host for the WordPress website. So let’s go.
Creating Apache Virtual Host for the WordPress website
We need to configure the Apache webserver to serve our WordPress site. We can do this by creating a Virtual Host for the website under the Apache configuration.
To create and activate a new Virtual Host, we need to create a new file in the /etc/apache2/sites-available/ directory.
For demonstration purposes, we are going to name it mysite.com.conf. We can create the file using the following command:

Once the file can be edited, enter the following configuration:

Now, save the newly-edited mysite.com.conf file and check the Apache configuration for syntax correctness. If everything is ok, enable the new site and reload the Apache2 service so the changes can take effect.
The command for doing this is as follows:

Below you can see how I enabled mysite.com.conf and reloaded Apache2.

Finally, make sure to disable the default virtual host so your new site can load properly in a web browser.
To do that, run the following commands:

Completing the WordPress installation via the web interface
The final part of this article demonstrates how to complete the WordPress installation using the web installer.
First, open up your browser and enter the following:

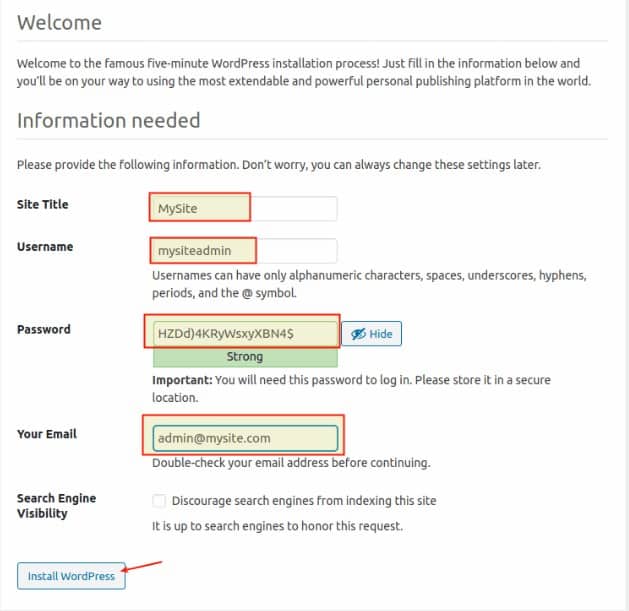
Once you run this, a WordPress window should load. There, you need to click Next.
Now, you have to fill in some information in order to access the well-known WordPress admin dashboard on your Ubuntu Linux. WordPress will ask you to fill in your site title, username, password, email, etc.
Once the WordPress installation is completed, you should see the login form for the admin dashboard.
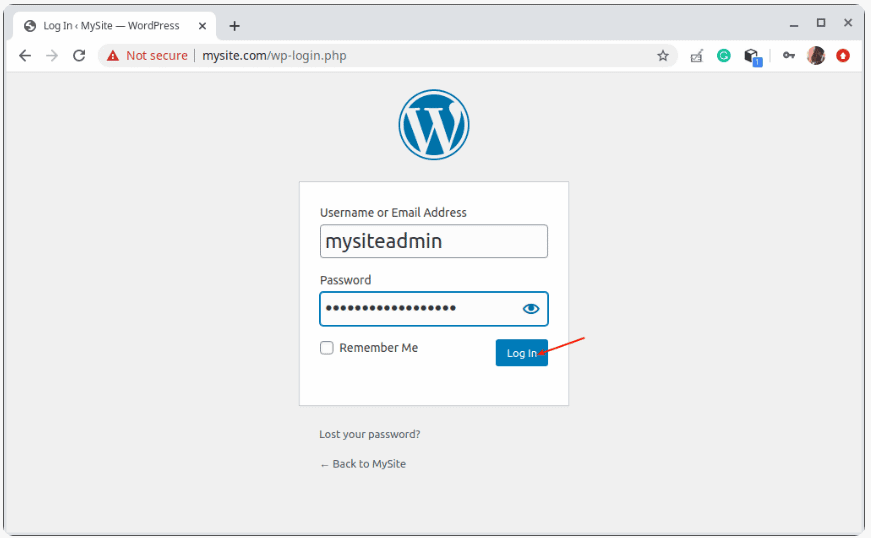
Upon logging in with your username and password, you should finally see the dashboard.
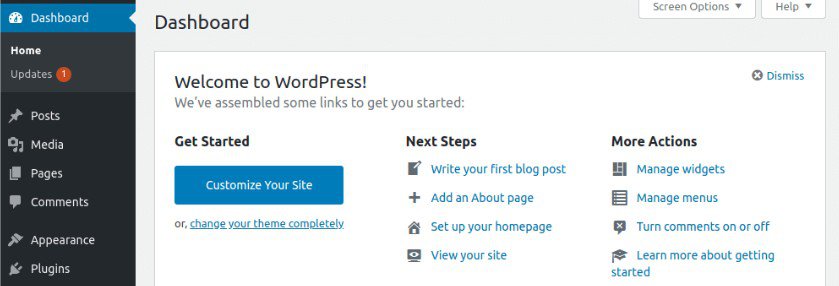
If you manage to log in, it means that WordPress has been successfully installed on your machine. Now, you are ready to publish your very first blog post directly from your locally installed WordPress.
Conclusion
As we have reached the end of this article, I can say that it was a great experience installing WordPress via LAMP Stack on Ubuntu Linux 20.04. And if you want to get WordPress up and running locally, then you can use this article as your guide.
All in all, I hope that you have learned something new, and I look forward to seeing you on our blog again!
Thanks a lot Amar
That was really useful
it’s really helpful article