Are you tired of getting spammed by bots invading your website like a swarm of irritating mosquitoes on a hot summer night? If the answer is yes, don’t worry.
There is a solution for your problem and it comes in form of CAPTCHA.
CAPTCHA, short for “Completely Automated Public Turing test to tell Computers and Humans Apart”, plays a major role in giving your website protection against unwelcome visitors and spamming bots.
Although it may feel like a little inconvenience, from a point of users, it is essential for their security.
Before we explain how you can easily add a GDPR-compliant CAPTCHA, let’s explore it a bit more.
Why You Should Have CAPTCHA on Your Website
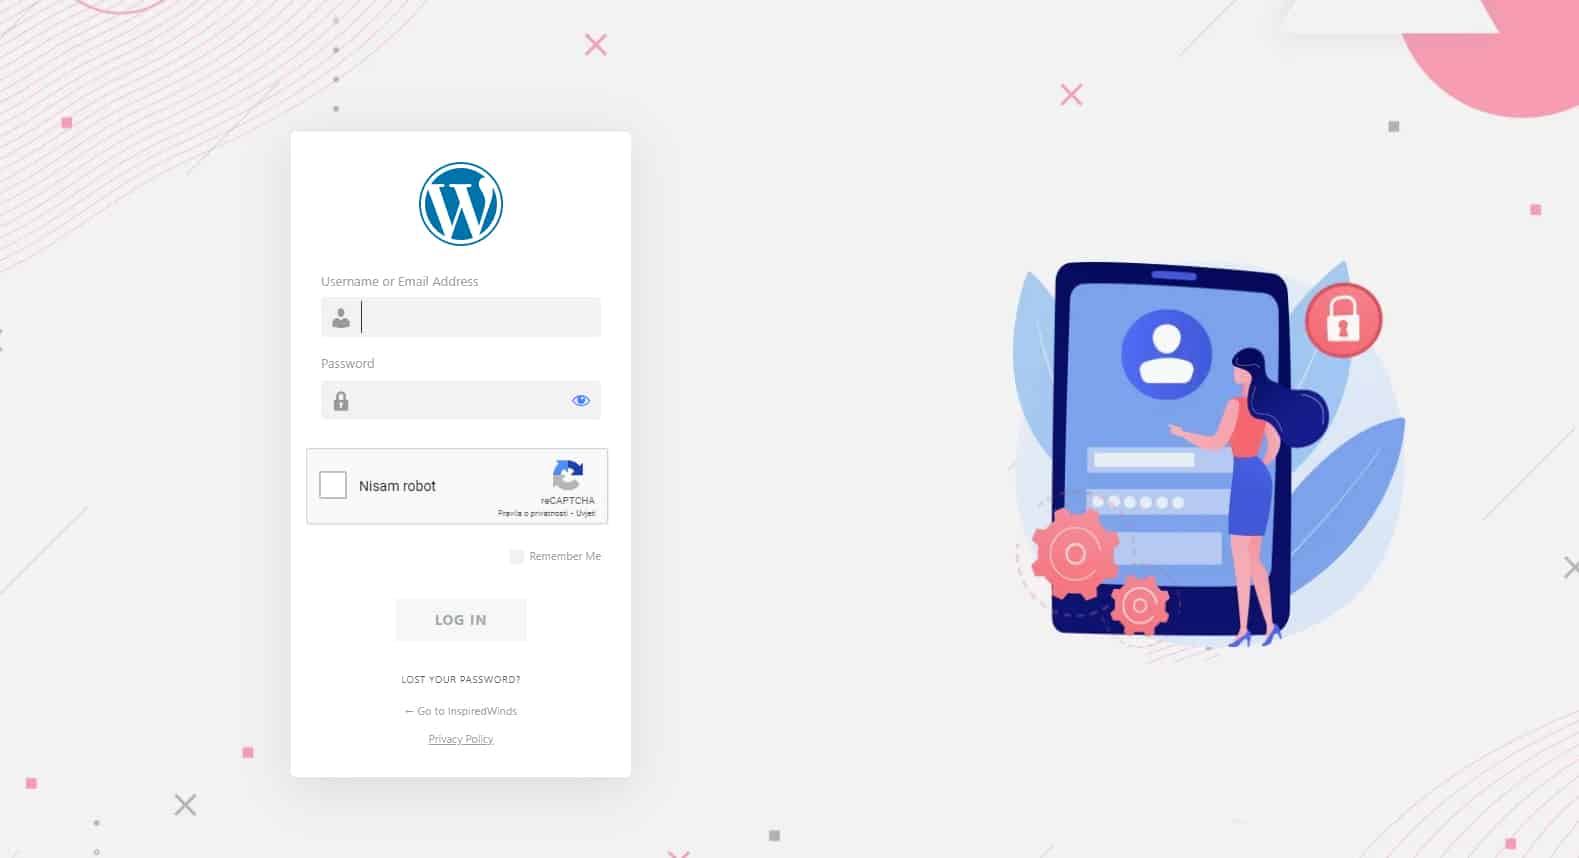
You can think of CAPTCHA as a bouncer at the entrance of a disco club. In this instance, CAPTCHA verifies IDs and confirms that only real people pass through.
If you lack CAPTCHA as a bouncer for your websites, you might find yourself quickly overrun by spammers, bots, and others inflicting havoc on your online community.
These bots can sneakily navigate your website like ninjas while taking your users’ data and causing havoc in their path.
Now that you know why is CAPTCHA so important, let’s see how you can add one today.
How to Add a CAPTCHA to Your WordPress Forms?
Here are three steps you can use to add a GDPR-compliant CAPTCHA to your WordPress Forms.
Step 1. Begin With Installing the WP Login Lockdown Plugin
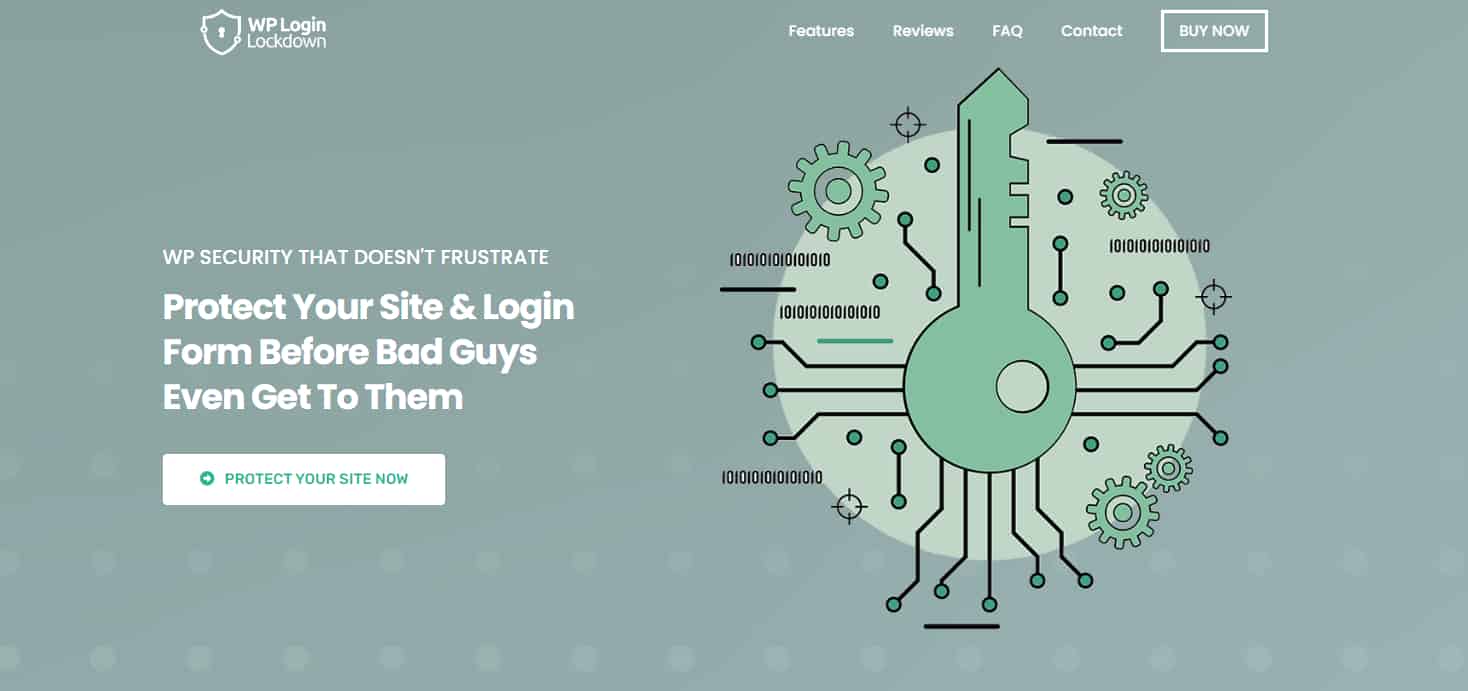
Installing the WP Login Lockdown plugin is the first step in enabling GDPR-compliant CAPTCHA. You can achieve that by logging in with the password you’ll get in an email to your freshly acquired Dashboard.
The welcome popup will direct you to a Download button once you’ve registered for a Dashboard account. You can use it to get your plugin’s ZIP file.
The only thing left for you to do is to set up the plugin on your site using WordPress after extracting the ZIP file. This goes through the same procedure that a typical plugin would go through.
After that, you’ll be able to use your WP Login Lockdown plugin. Easy, right? Onto the next step.
Step 2. Activating the License
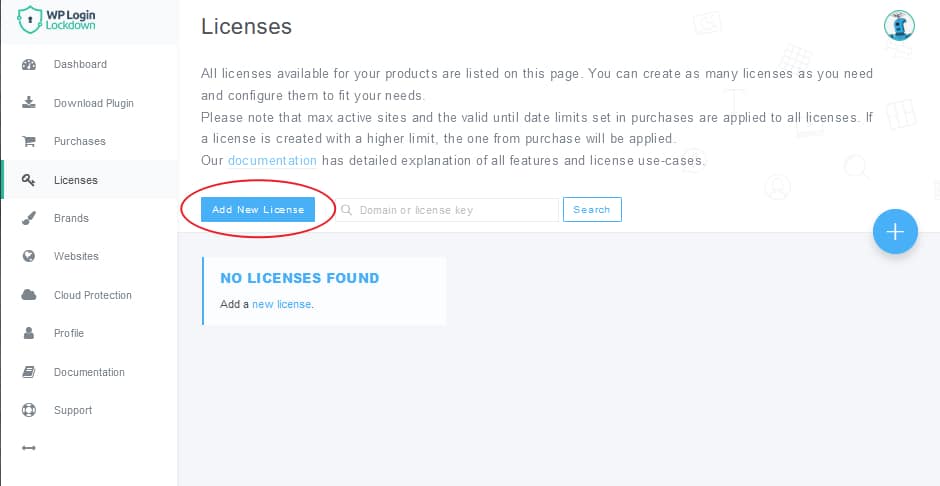
The next step is all about activating the license. You can use it to confirm that your accounts are connected to your website.
You can swiftly create new licenses for your websites by visiting the Licenses option located on your Dashboard. When you’re ready to modify the license key, click the “Add New License” button.
You must always select the Key license type, else the license generator will ask you to select your domain. All you’ve got to do is click “Create and Activate License” at the bottom of the page once you’ve selected the proper configuration.
As soon as you get your license key, head over to your WordPress plugin and put it there. You’ve now successfully activated the WP Login Lockdown.
Step 3. Enabling the hCAPTCHA
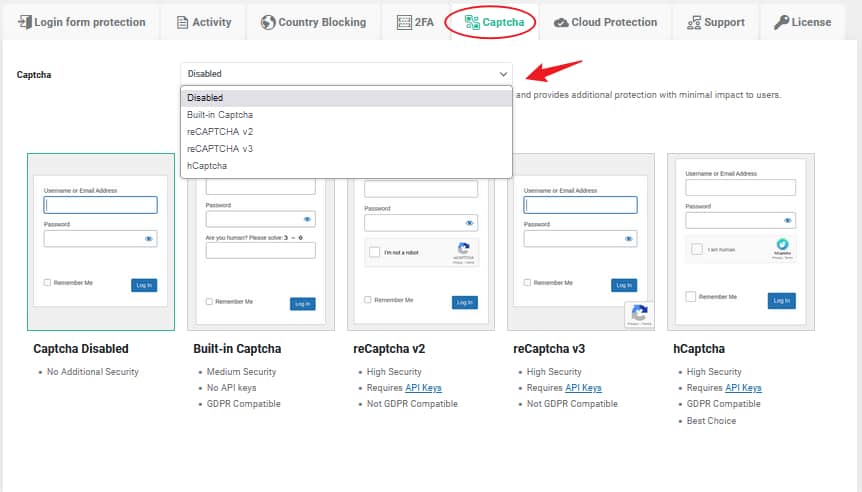
We arrived at the last step. From a Built-in Captcha to the hCaptcha, WP login lockdown provides a variety of CAPTCHA alternatives. The option with the strongest security is hCaptcha, which integrates the login and CAPTCHA methods.
Therefore, your users need to create a profile and solve the regular CAPTCHA, which maximizes your security.
Besides being GDPR compliant, hCaptcha makes this plugin ideal for any website that wants to adhere to EU rules. All you have to do to enable hCaptcha is pick it from a drop-list option in the “Captcha” tab.
Congratulations, you now have a functioning CAPTCHA on your website.
To Sum Up
Maintaining the highest level of security for your future website should be your utmost priority, regardless of what you want to accomplish with it.
You may safeguard your website with an hCaptcha and a secure password with WP Login Lockdown. By doing this, there is no risk that a hacker will access your website and jeopardize your project.