Keeping your WordPress site updated is super important. It makes your site more secure, faster, and compatible with new themes and plugins. But updating WordPress manually can be a hassle. The good news? WordPress can update itself automatically!
Why Enable Automatic Updates?
Here’s why automatic updates are a great idea:
- Security: Updates fix security issues before hackers can exploit them.
- Bug Fixes: Updates often include fixes for annoying bugs.
- New Features: You get the latest tools and improvements.
- Less Work for You: No need to manually update every time.
Sounds good, right? Now, let’s set it up!
How Automatic Updates Work in WordPress
By default, WordPress updates itself for minor updates (like version 6.2 to 6.2.1). However, major updates and some plugin or theme updates aren’t automatic.
You can change this and enable full auto-updates. Let’s go over a few simple ways to do it.
Method 1: Enable Auto Updates from the Dashboard
If you prefer an easy solution, WordPress lets you turn on auto-updates from the dashboard.
- Go to Dashboard > Updates.
- Look for the message about automatic updates.
- If available, enable major updates.
For Plugins and Themes:
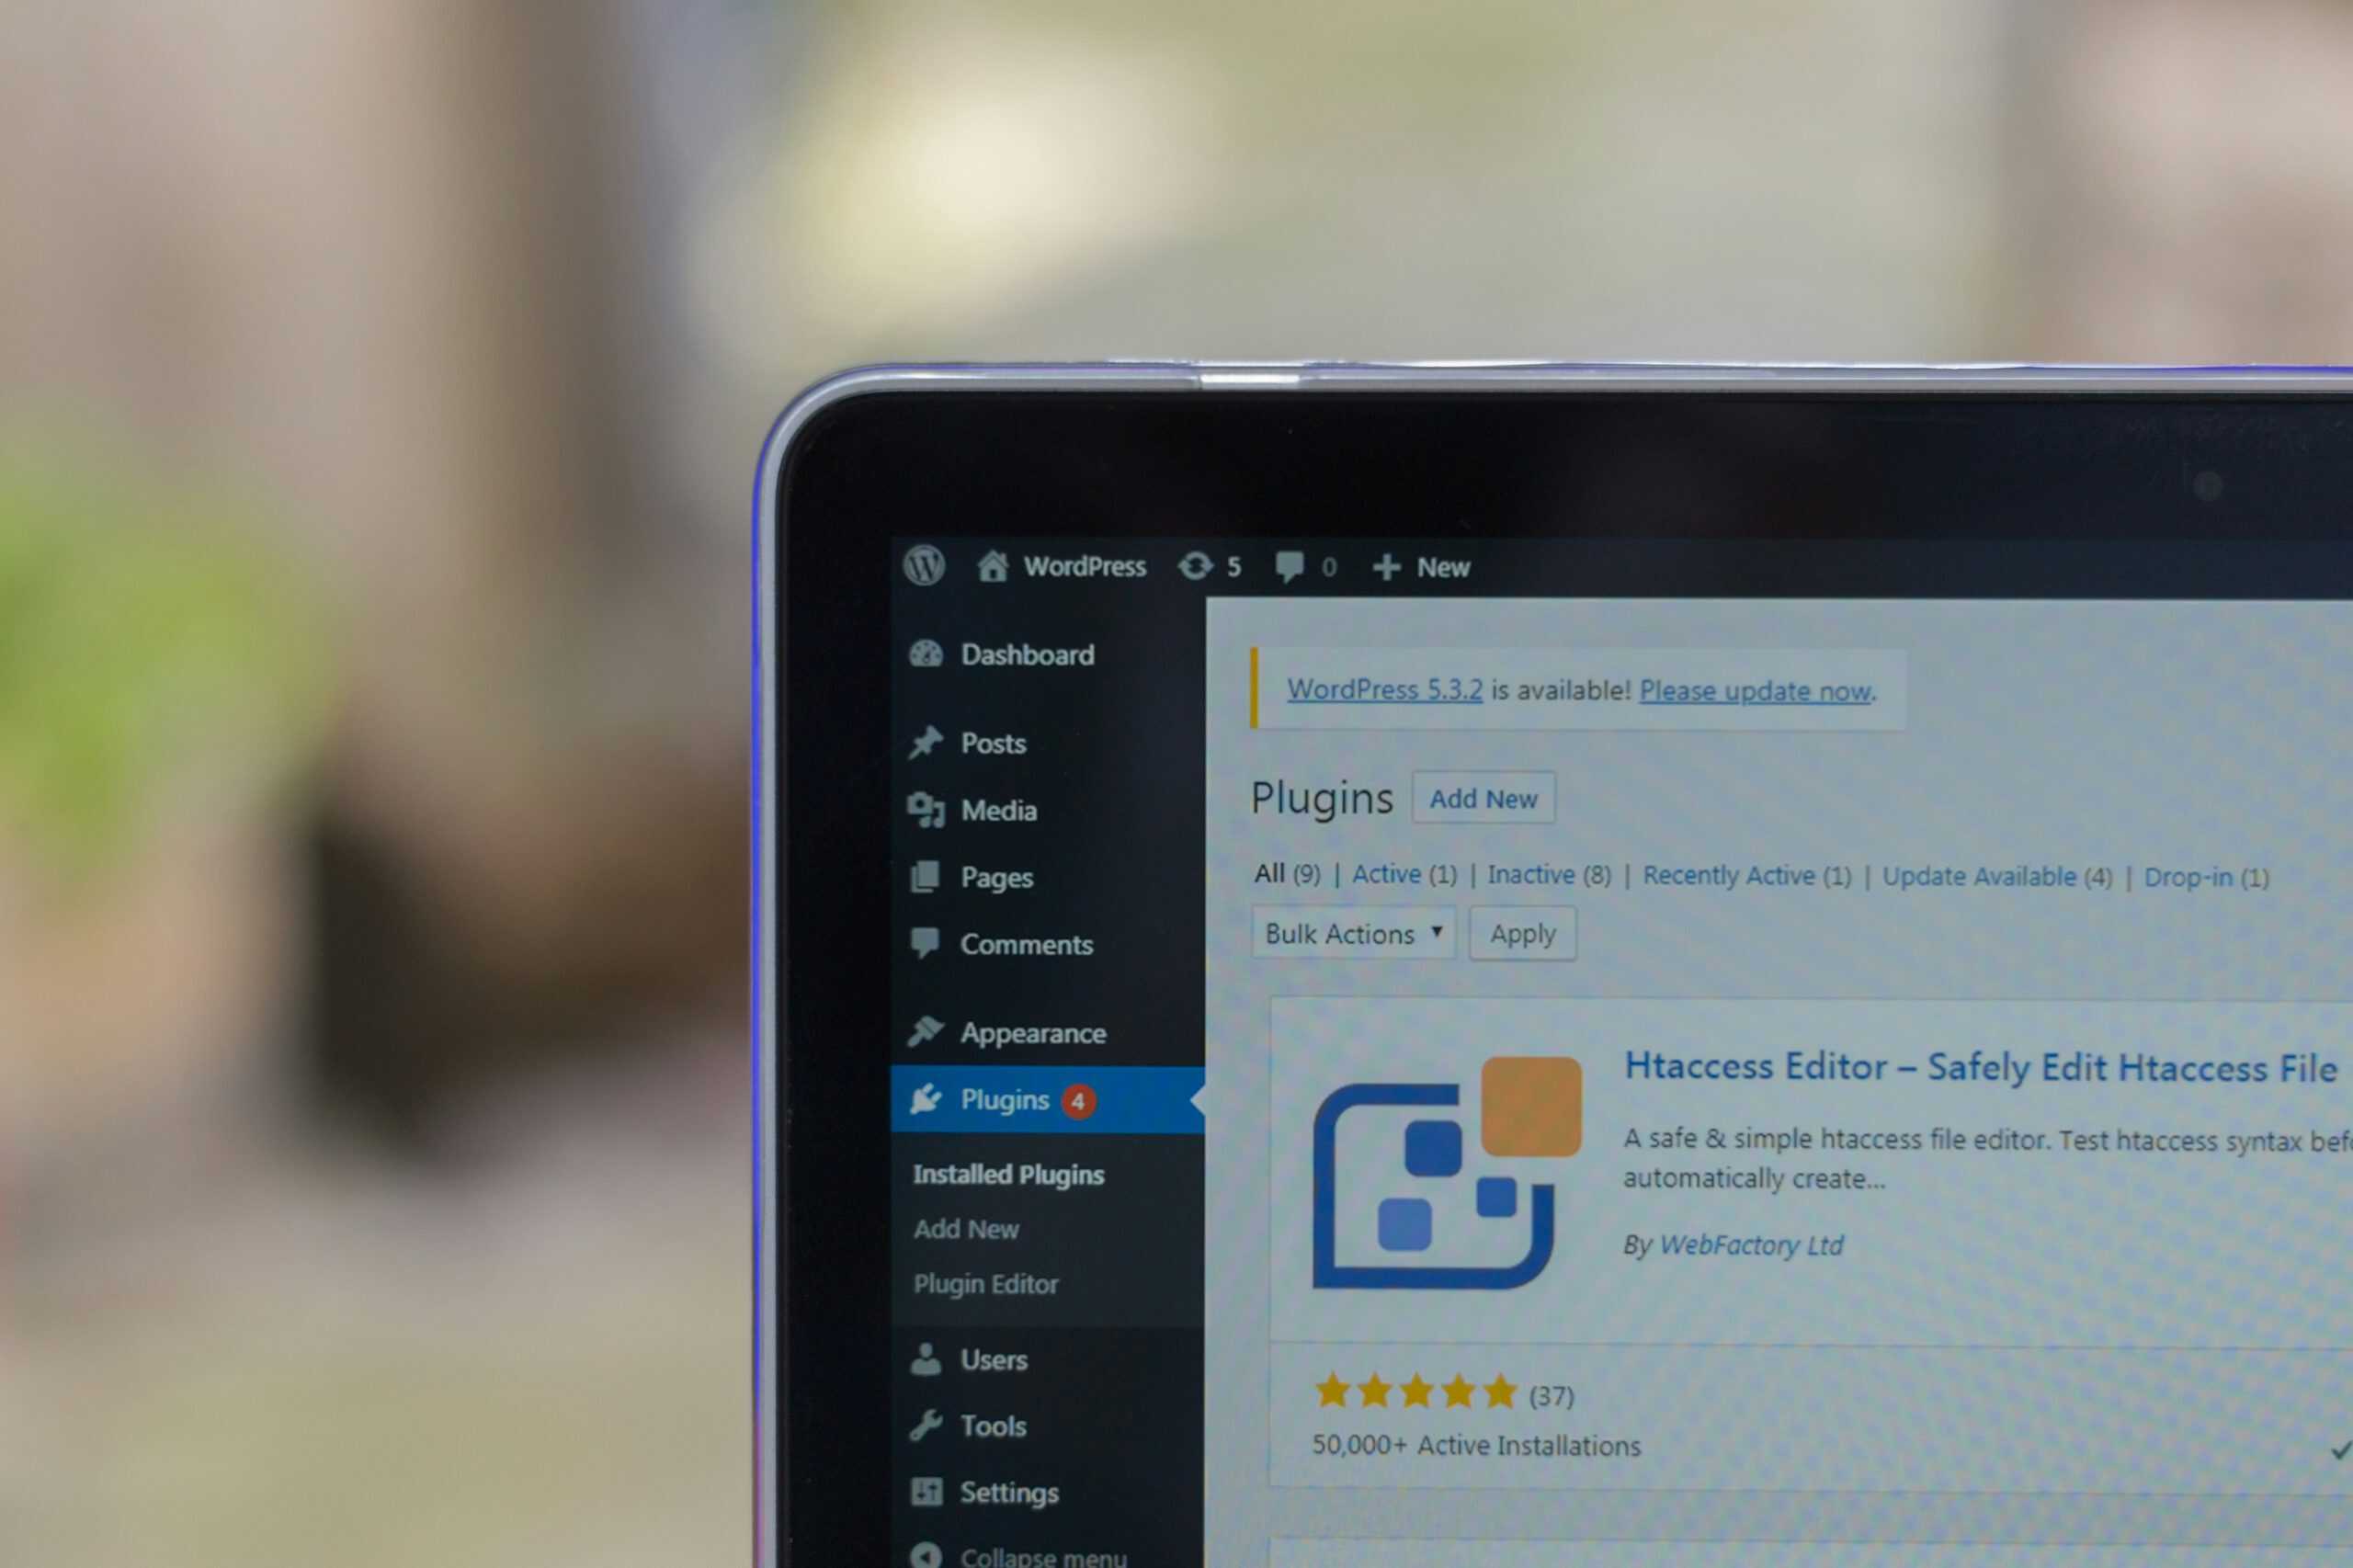
- Go to Plugins > Installed Plugins.
- Find the plugin you want to auto-update.
- Click “Enable Auto-Updates” next to it.
- For themes, go to Appearance > Themes, select your theme, and look for the update settings.
That’s it! WordPress will now update by itself.

Method 2: Use a Plugin
Some people like more control over updates. In that case, a plugin is a great option.
Here are some popular auto-update plugins:
- Easy Updates Manager: Customize which updates run automatically.
- WP Auto Updater: Allows schedule-based updates.
To install one:
- Go to Plugins > Add New.
- Search for the plugin (e.g., “Easy Updates Manager”).
- Install and activate it.
- Adjust settings as needed.
Now, automatic updates are completely under your control!
Method 3: Edit Your wp-config.php File
Want a more advanced option? You can enable auto-updates with a single line of code.
Follow these steps:
- Open your wp-config.php file (found in your site’s root folder).
- Add this line at the very end:
define( 'WP_AUTO_UPDATE_CORE', true );
This enables all core WordPress updates (big and small). If you only want minor updates, use:
define( 'WP_AUTO_UPDATE_CORE', 'minor' );
Save the file, and you’re done!
Method 4: Modify Your Functions.php File
You can also enable auto-updates for themes and plugins via code.
- Go to Appearance > Theme Editor.
- Open the functions.php file.
- Add this code to enable theme and plugin updates:
add_filter( 'auto_update_plugin', '__return_true' );
add_filter( 'auto_update_theme', '__return_true' );
Once you save the file, plugins and themes will update automatically.
Things to Keep in Mind
- Backups Are Important: Sometimes updates can break a site.
- Test Updates Regularly: If using auto-updates, check your site often.
- Hosting Matters: Some web hosts manage auto-updates for you.
Final Thoughts
Automatic updates keep your WordPress site safe, smooth, and hassle-free. Whether you enable them from the dashboard, use a plugin, or edit your files, it’s easy to set up. Now, sit back and let WordPress handle the updates for you!